
Puppeteer Web Scraping: A Practical Guide



Puppeteer is one of the most widely used tools for browser automation in JavaScript. Developers use it to control a real browser from code, without manually clicking through pages.
That same ability makes Puppeteer useful for web scraping. Many modern websites load their content with JavaScript, and a scraper needs to see the page the way a browser sees it, not just the raw HTML that a server first sends back.
This guide explains what Puppeteer is, how it works, and how to build a simple scraper with it. It also covers the practical problems that show up once a scraping project grows beyond a single test page.
What is Puppeteer?
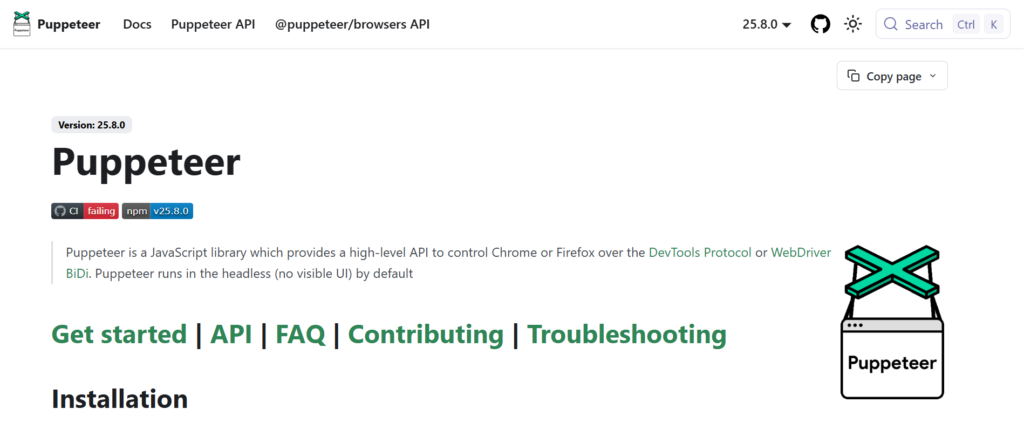
Puppeteer is a JavaScript library maintained by the Chrome team. It gives developers a high-level API for controlling a browser through code.
Puppeteer is typically used with Node.js. A script written in Puppeteer can open a browser, visit a page, interact with it, and read its content, all without a person touching a mouse or keyboard.
By default, Puppeteer runs in headless mode. A headless browser is a real browser running without a visible window. This makes it efficient for automation, since there is no interface to render.
Puppeteer can control Chrome and Chromium, and it also supports Firefox. It communicates with the browser through the Chrome DevTools Protocol or WebDriver BiDi, depending on configuration.
Puppeteer is not built only for scraping. It is also commonly used for:
- Automated testing of web applications
- Taking screenshots of pages
- Generating PDFs from web pages
- Monitoring page performance
- General browser automation tasks
Web scraping is simply one of the practical ways developers apply Puppeteer’s browser control.
Why use Puppeteer for web scraping?
To understand why Puppeteer is useful, it helps to compare two different approaches to scraping.
Traditional HTTP scraping:
Request → HTML → extract data
A basic scraper sends an HTTP request to a URL and reads whatever HTML comes back. This works well for simple, static pages.
Browser based scraping with Puppeteer:
Open browser → load page → execute JavaScript → render content → extract data
Puppeteer opens a real browser, loads the page, and lets the page’s JavaScript run before any data is extracted. This matters because a growing number of websites build their content dynamically, after the initial page load.
Puppeteer web scraping becomes useful when a page relies on JavaScript to show its content. Common examples:
- Product listings that load after an API call
- Filters and search results that update without a full page reload
- Pagination controls built with JavaScript
- Infinite scrolling feeds
- Interactive dashboards or apps
- Content that only appears once a user action triggers it
A basic HTTP request would only see the page’s starting HTML. It would miss anything the browser generates afterward. This is the core reason web scraping with JavaScript rendered pages usually needs a real browser environment, and why Puppeteer is a common choice for this kind of scraping with Node.js.

Need reliable IP rotation? Try NodeMaven residential proxies from $3.50 with 750MB of bandwidth
How to install Puppeteer
Puppeteer is installed through npm, the package manager that ships with Node.js. If Node.js is already set up on your machine, installing Puppeteer takes one command.
This command adds Puppeteer to your project and downloads a compatible version of Chrome for it to control. That bundled browser is what Puppeteer launches by default, so there is no separate browser installation step for a typical setup.
If you only need the API without the bundled browser, puppeteer-core is a lighter alternative. It expects you to connect to a browser you manage yourself, which is more of an advanced use case.
For everyday scraping projects, the regular puppeteer package is the simpler starting point.
How to scrape a website with Puppeteer
The best way to understand Puppeteer scraping is to look at a small, complete example. This one opens a page, waits for it to load, reads some text from it, and prints the result.
Here is what each part is doing:
- puppeteer.launch() starts a new browser instance. This is the browser your script controls.
- browser.newPage() opens a new tab inside that browser. This is the page your script will work with.
- page.goto() navigates to a URL. The waitUntil option tells Puppeteer how to judge that the page is ready before moving on.
- page.$$eval() selects a group of elements on the page using a CSS selector, then runs a function against them inside the browser. In this example, it grabs every book title on the page.
- browser.close() shuts down the browser once the script is done. Skipping this step in a longer running project can leave browser processes running in the background.
This same pattern, launch, open a page, wait, select, extract, close, is the foundation for most Puppeteer scrapers. More complex projects build on it with extra steps for navigation, waiting, and error handling.
Scraping dynamic websites with Puppeteer
Static HTML scraping breaks down when a website depends on JavaScript to build its content. The server sends a mostly empty page, and the real content is added afterward by scripts running in the browser.
This is exactly the situation Puppeteer is designed for. Because it controls a full browser, it lets that JavaScript run normally, then reads the page once the content actually exists.
A few common situations come up regularly when scraping dynamic pages.
Waiting for content
Sometimes an element is not on the page yet when the script first looks for it. Puppeteer can wait for a specific selector to appear before continuing.
This tells Puppeteer to pause until an element matching .product-price shows up in the page, rather than failing immediately because it does not exist yet.
Clicking elements
Some content only appears after a user action, such as opening a tab or expanding a section. Puppeteer can simulate that click before reading the page.
Some feeds load more items as the user scrolls down. A Puppeteer scraper can simulate scrolling by running a scroll action inside the page and then waiting for new items to appear before collecting them.
Pagination
Many sites split results across multiple pages using “next” buttons or page numbers. Puppeteer can click through these in a loop, extracting data on each page before moving to the next one.
These techniques are usually combined rather than used in isolation. A real scraper might wait for the page to load, click a filter, wait again, then extract data, all within the same script.
Common problems when scraping with Puppeteer
Even a well written Puppeteer scraper runs into a predictable set of issues once it is used beyond a single test page.
Slow page loading
Some pages take longer to load than expected, especially on slower connections or heavier websites. A script that does not account for this can time out or grab an incomplete page.
Setting realistic timeouts and waiting for the right elements helps avoid this.
Dynamic content
Content that loads asynchronously will not always be available the moment page.goto() finishes. This is why waiting for specific selectors, rather than a fixed delay, is more reliable approach.
Rate limits
Sending requests too quickly can trigger a website’s rate limiting, which slows down or blocks further requests. This is common once a scraper moves from a handful of test requests to a larger job.
CAPTCHAs and bot detection
Many websites use systems that try to identify automated traffic and present a CAPTCHA or block the request. They exist because a site wants to limit automated access, and any scraping project should take a website’s terms of use into account.
IP blocks
When many requests come from the same IP address in a short period of time, some websites will flag or block that IP. This is usually not a problem for small scraping tasks.
It becomes a real limitation once a project involves frequent requests, larger data volumes, or long running jobs, since a single IP starts to look unusual to the target site.
Scraping dynamic websites at scale? Get NodeMaven residential proxies from $3.50 with 750MB included
Do you need a proxy for Puppeteer?
Not every Puppeteer project needs a proxy. For a small scraping task, a direct connection is often enough.
A proxy becomes relevant once a project grows in one of these directions:
- Scraping at a larger scale, with many requests over time
- Needing to see a website the way users in a specific country or city would see it
- Distributing traffic across multiple IP addresses instead of relying on one
- Working around IP based rate limits or blocks
- Running scraping jobs that continue for extended periods
Without a proxy, every request from a Puppeteer script comes from the same IP address. A proxy routes that traffic through a different IP, or a pool of IPs, so requests do not all appear to come from one source.
Setting up a proxy in Puppeteer involves a few configuration steps, including launch arguments and authentication. Since that setup is already covered in detail elsewhere, this guide will not repeat it. For the full configuration walkthrough, see the Puppeteer proxy integration guide.
Which proxy type is best for Puppeteer Scraping?
Different proxy types fit different scraping needs.
Residential proxies use IPs associated with real internet service providers. They are useful for broad geographic coverage and larger scraping jobs. Rotating residential proxies can change the IP across requests.
Mobile proxies use IPs from mobile carrier networks. They can be useful when mobile network IPs are better suited to the target website.
ISP proxies offer stable IPs registered to internet service providers. They work well when a scraper needs a consistent IP and longer sessions.
The best option depends on the website, scraping scale, and whether you need rotating or stable IPs.
Using NodeMaven Proxies with Puppeteer
Once a Puppeteer scraper starts sending a large number of requests, relying on a single IP address becomes a real limitation.
NodeMaven provides rotating residential proxies built around a large IP pool with country, city, and ZIP-level targeting, along with session controls that let a script rotate IPs automatically or keep a sticky session for a set period.
Mobile proxies are also available for workflows where mobile network IPs are preferable, such as scraping mobile focused platforms or workflows where mobile IP behavior matters more than broad coverage.
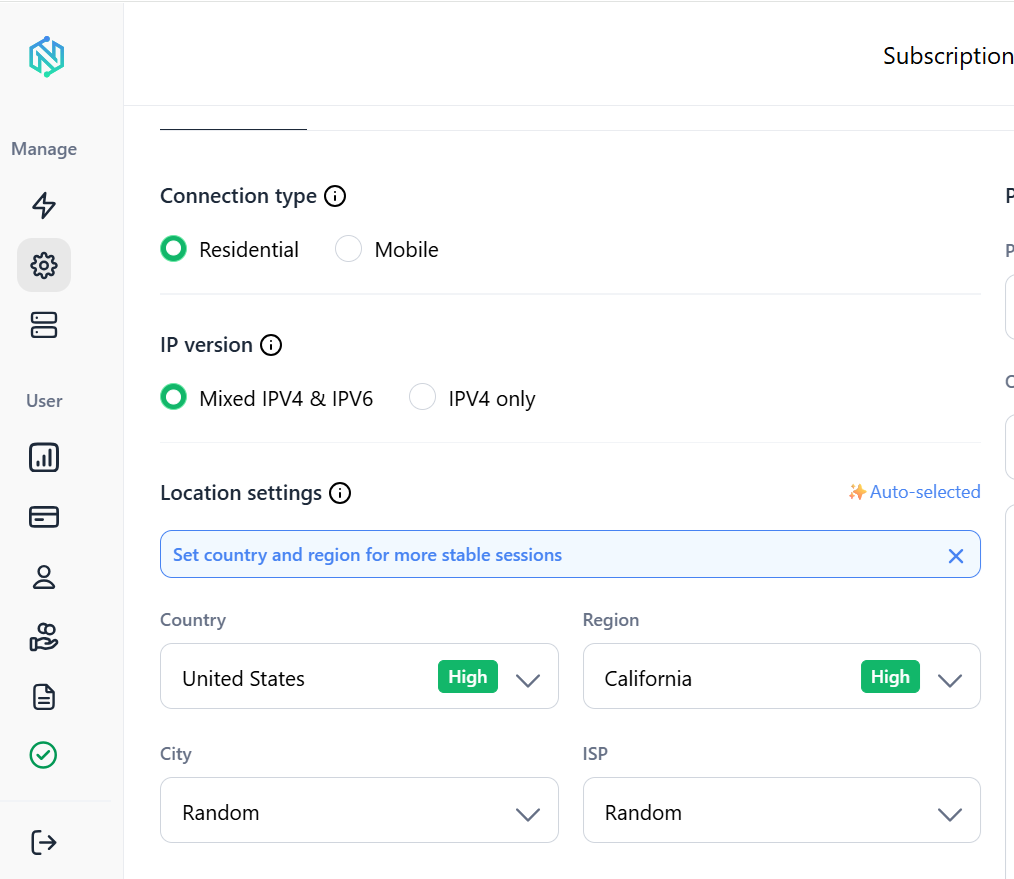
For the full setup process, including launch arguments and authentication, see the Puppeteer proxy integration guide.
Puppeteer web scraping best practices
A few habits make Puppeteer scrapers noticeably more reliable in practice.
- Use realistic request rates. Sending requests as fast as possible increases the chance of rate limits or blocks. Spacing out requests looks more like normal traffic.
- Wait for content instead of guessing timing. Use waitForSelector or similar methods rather than a fixed delay, since load times vary.
- Handle timeouts and errors. Pages fail to load occasionally. Wrapping navigation in try and catch blocks keeps one failed page from stopping the whole script.
- Reuse browser resources efficiently. Opening and closing a new browser for every page is slower than reusing one browser across multiple pages when possible.
- Avoid unnecessary page loads. Only navigate to pages that are actually needed for the data you are collecting.
- Use a proxy session type that matches the workflow. Rotating sessions suit high volume scraping, while sticky sessions suit tasks that need to stay on the same IP for a while.
- Keep scraped data structured. Saving results in a consistent format, such as JSON or CSV, makes the data easier to use once collection is done.
Ready to scale your Puppeteer scraper? Try NodeMaven residential proxies from $3.50 and get 750MB of bandwidth